VSCode CSS LSP Configuration
The details below describe how to install and configure the VSCode CSS language server found
here.
IMPORTANT: This language server assumes Node.js has been installed on the machine. To test for this open the command prompt, run the
node -v command and check that the version number output is produced, something similar to this:
v22.13.0
If Node.js is not installed, download and install Node.js from
here.
Installing the Language Server
Install the VSCode CSS Language Server using the following command:
npm install -g vscode-langservers-extracted
This npm install will create a vscode-css-language-server.cmd batch file in the Node.js node folder which should also be located in the PATH.
To check the Node.js installation folder is located in the PATH run the following command at the command line prompt:
which node.exe
Configuration
Start Zeus and use the
Options, Document Types menu to edit the
HTML document type and in the
Language Server panel apply the following configuration settings:
Program Type: Batch
     Program: vscode-css-language-server.cmd
   Directory:
   Arguments: --stdio
              --log-level=4
NOTE: The directory value is only required if the location of the vscode-vscode-css-language-server.cmd file has not been added to the system PATH.
Using the Language Server
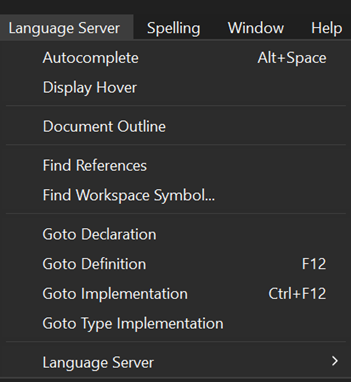
The Language Server, Autocomplete menu is used to fire of the autocomplete as shown below:
NOTE: As that menu indicates, the Alt+Space keyboard shortcut can also be used to activate the autocomplete.
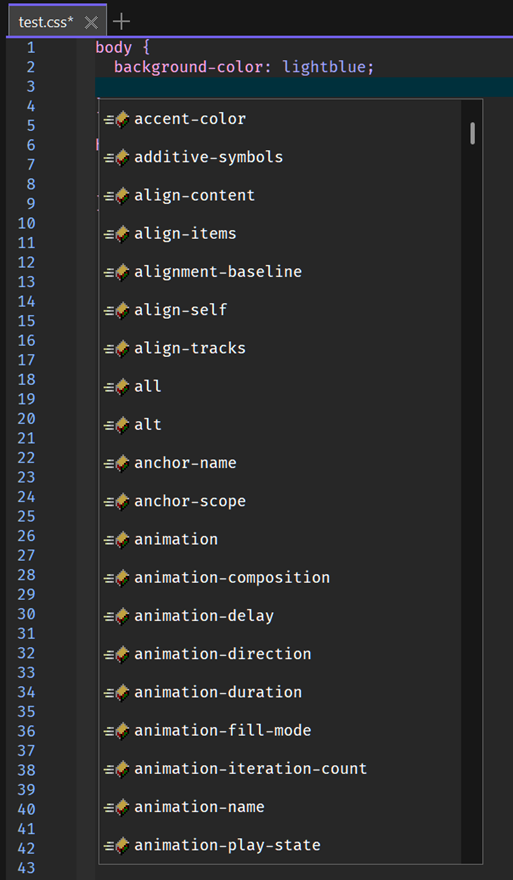
To test the configuration create a simple test.css file and fire off the autocomplete for CSS elements as shown below:
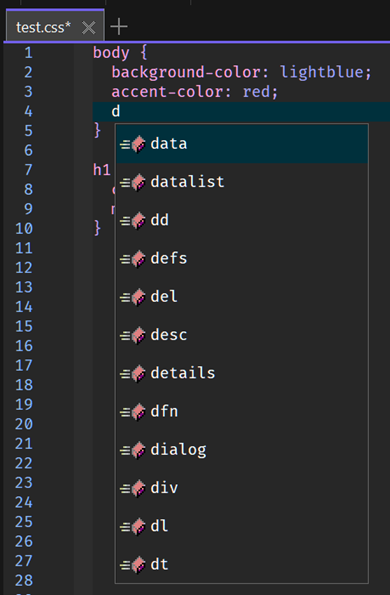
The language server can also be used to complete CSS styles as shown below:
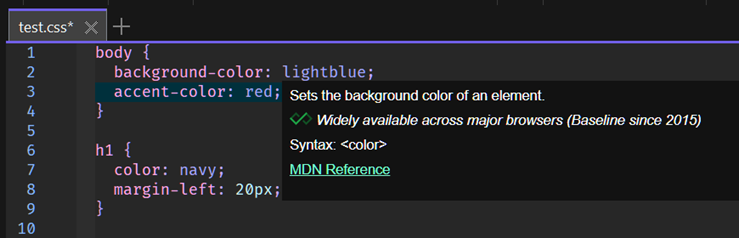
In addition to these code completion examples, the language server also provides document hover as shown below: