Agent SVN
Seamlessly integrate Subversion with your favorite IDE....
Seamlessly integrate Subversion with your favorite IDE....

Agent SVN allows you to connect Subversion to the Microsoft Visual C/C++ 6.0 IDE.
Features of the plug-in include:
Below are details on how to import a Visual C/C++ workspace into the Subversion repository using the Agent SVN plug-in.
Visual C++ uses the registry to locate the current SCC provider.
The Agent SVN installer will create the following SCC registry entries during the installation process:
    Windows Registry Editor Version 5.00

    [HKEY_LOCAL_MACHINE\SOFTWARE\SourceCodeControlProvider]
    "ProviderRegKey"="SOFTWARE\\Xidicone\\Agent SVN"

    [HKEY_LOCAL_MACHINE\SOFTWARE\SourceCodeControlProvider\InstalledSCCProviders]
    "Agent SVN"="SOFTWARE\\Xidicone\\Agent SVN"
If Visual C/C++ does not appear to detect the Agent SVN software use the regedit.exe program to check that these registry keys are correctly defined.
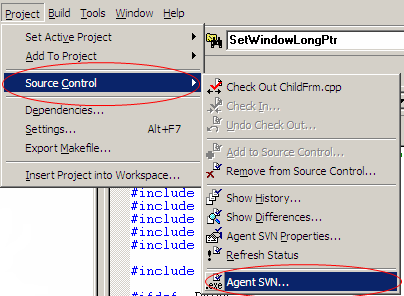
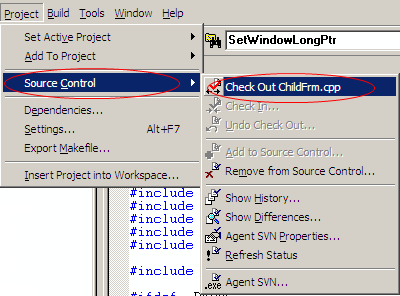
With Agent SVN set as the current source control plug-in, use the Project, Source Control, Agent SVN menu to bring up the Agent SVN configuration dialog and customised the behaviour of plug-in to suit.
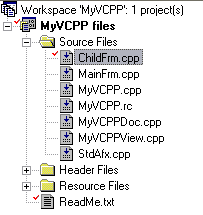
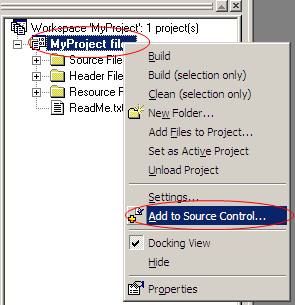
Go to the Visual C/C++ workspace file view panel and using the mouse right click button, select the Add to Source Control menu option.
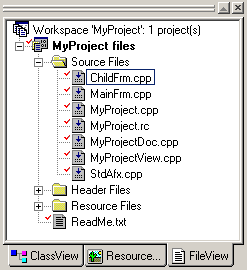
At this point the items selected have been checked out and are ready for editing.
From this point on use the source control menu options to manage the files that make up the workspace.
Check the workspace back into the source control. This will update the version of the workspace file found in the source control with the correct binding information.
For example the check out menu can be used to check out a file for editing.
Likewise, any of the other source control menu options can now be used.